
GitLab offers to create personal access tokens to authenticate against Git over HTTPS. Using these tokens is a secure alternative to storing your GitLab password on a machine that needs access to your repository. It is also the only way to automate repository access when two-factor authentication is enabled.
However, GitLab does a poor job documenting how you actually use these tokens.
Create an Access Token
Navigate to “User Settings” > “Personal Access Tokens” and enter a name and, optionally, an expiration date: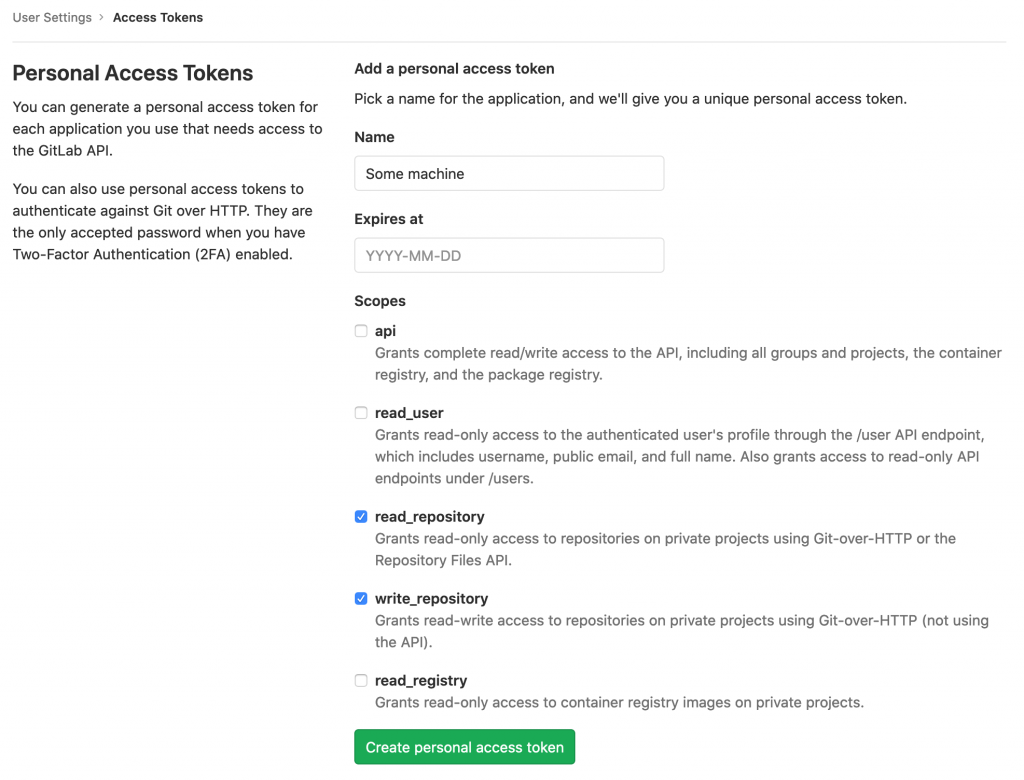
Read and write access to the repository should be sufficient for many use cases, but you can also pick additional scopes. Create and copy the token and save it at a secure location (ideally, in your password manager).
Using the Token at the CLI
This is the crucial piece of information missing in the documentation at this time: You can use the token as the password for the fictional “oauth2” user in CLI commands.
For example, to clone your repository:
git clone https://oauth2:[email protected]/yourusername/project.git project
Configure the Token for an Existing Repository
The authentication method of an existing checked out git project is defined in the .git/config file. If you want to use an access token instead of SSH or HTTPS auth for such an existing project, adapt this file the following way:
...
[remote "origin"]
        url = https://oauth2:[email protected]/yourusername/project.git
        fetch = +refs/heads/*:refs/remotes/origin/*
...